Once you have downloaded UnityJDBC from http://www.unityjdbc.com/download.php,
you will have downloaded a JAR file called UnityJDBC_Trial_Install.jar.
First, you need to have Java previously installed in order to
install UnityJDBC. Then, you can install UnityJDBC by either double-clicking
the JAR file or running the following command: java -jar
UnityJDBC_Trial_Install.jar. The installation steps are below.
-
Welcome Screen - Provides some background on UnityJDBC. Click Next.
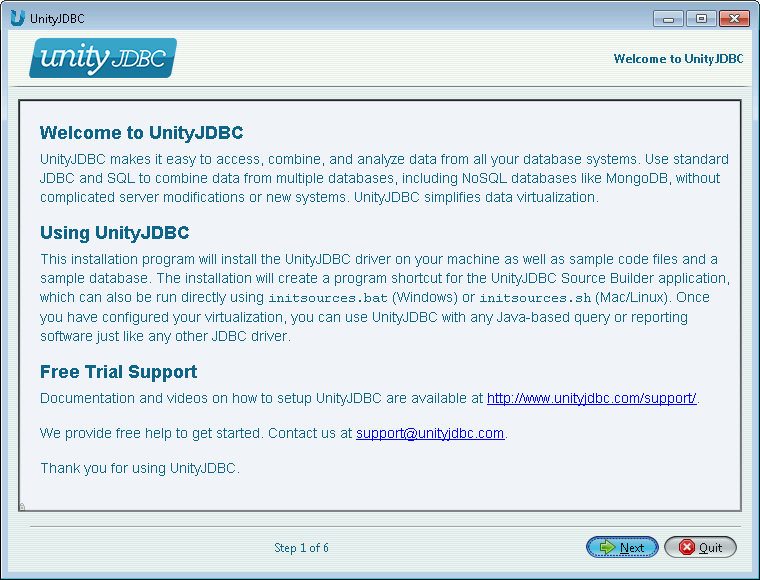
UnityJDBC Installation Part #1 - Welcome Screen
-
End-User License Agreement - Read the EULA, select Accept, and click Next.
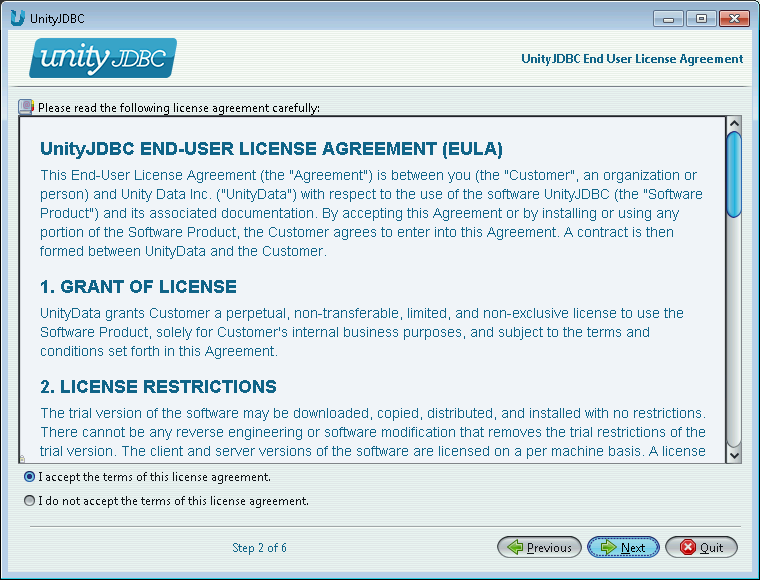
UnityJDBC Installation Part #2 - End-User License Agreement
-
Install Path - Select the installation path for UnityJDBC and then click Next.
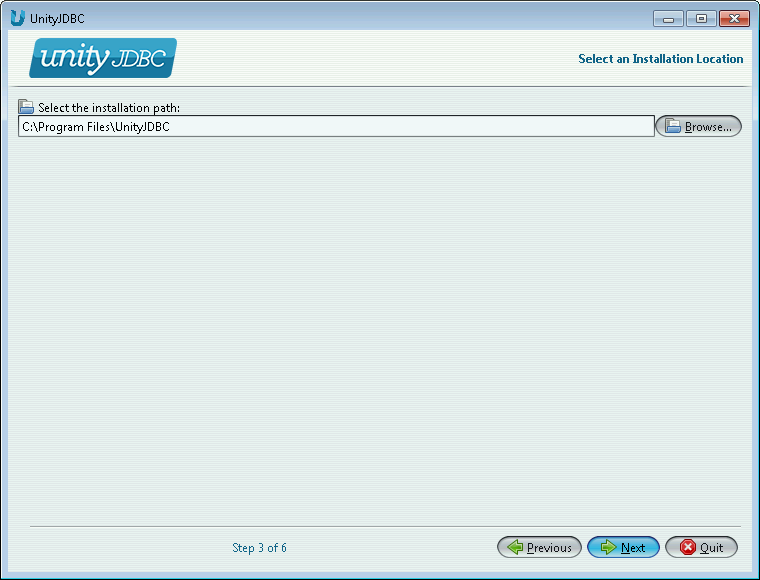
UnityJDBC Installation Part #3 - Select Installation Path
-
Install Progress - The installation will be performed and progress shown. Click Next when complete.
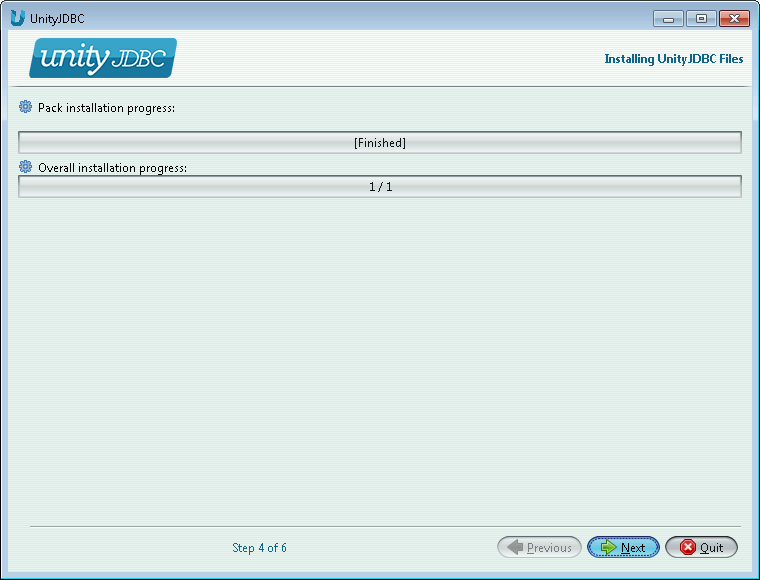
UnityJDBC Installation Part #4 - Installation Progress
-
Install Shortcuts - The installation will install shortcuts to start SourceBuilder and a sample database. This screen allows you to control if shortcuts are created and their location. When finished, click Next.
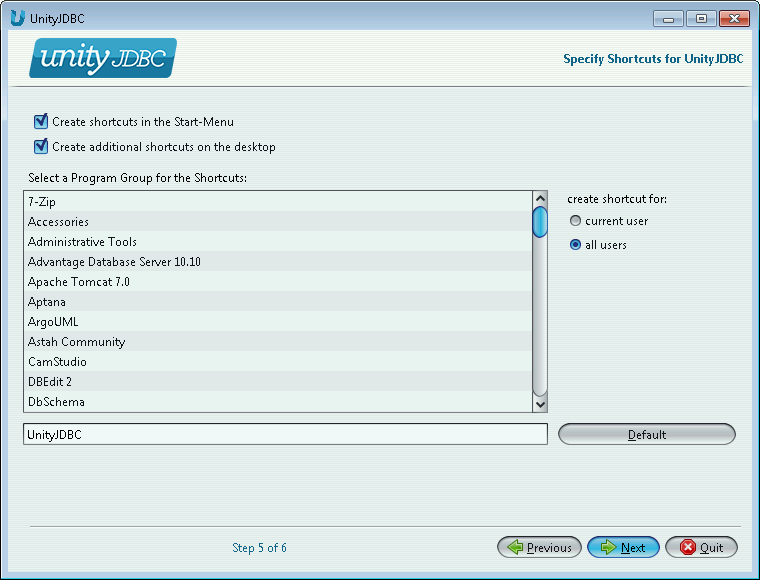
UnityJDBC Installation Part #5 - Select Shortcuts
-
Installation Complete - The installation complete screen will be displayed if the installation is successful. UnityJDBC SourceBuilder will be automatically started. Click Done to close the install window.
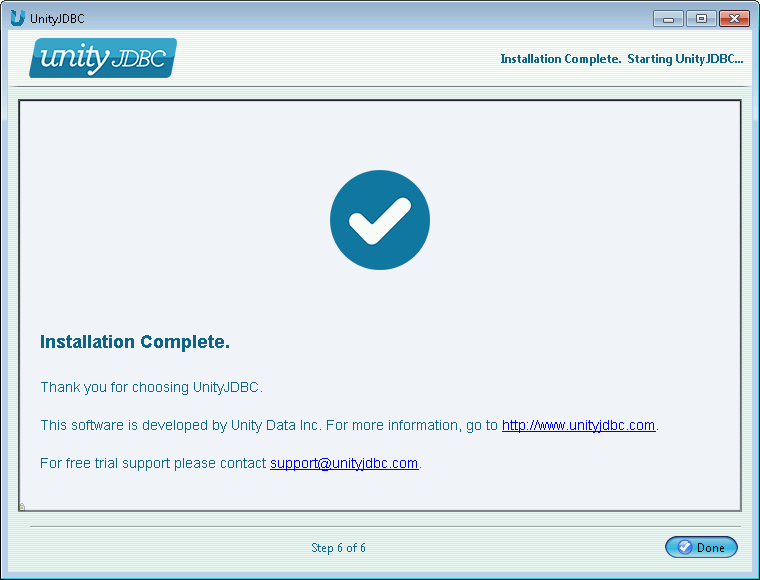
UnityJDBC Installation Part #6 - Installation Complete
UnityJDBC will auto-start at the completion of the installation. If it does not, click
on the shortcut created. If there is no shortcut, on Windows run
initsources.bat and on Linux/Mac run
initsources.sh in the installation directory.